Connecting to Textastic with Finder
Learn how to connect to the builtin WebDAV server using Finder on Mac OS X.
Requirements
Your Mac must be connected to the same network as your iPad running Textastic.
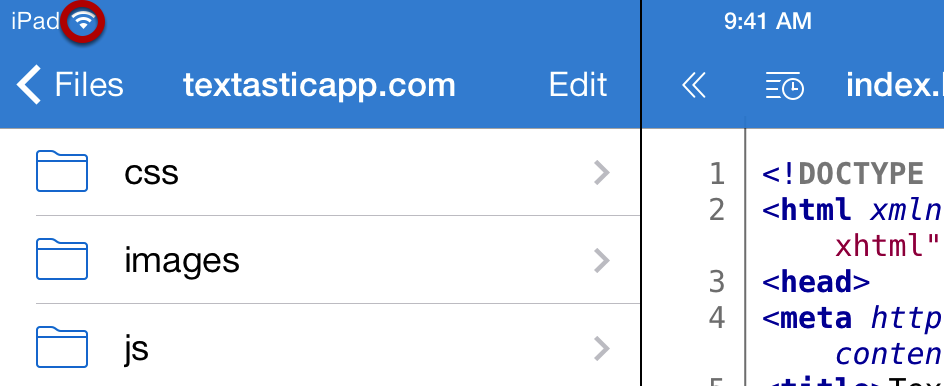
The iPad must be connected via Wi-Fi.
Open "Connect to Server" dialog
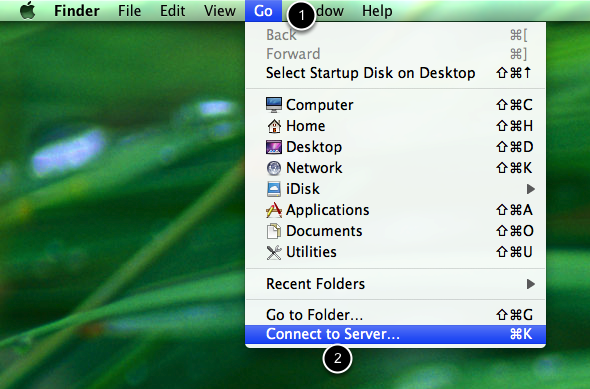
Switch to Finder.
Open the Go menu (1) and select Connect to Server (2).
Connect
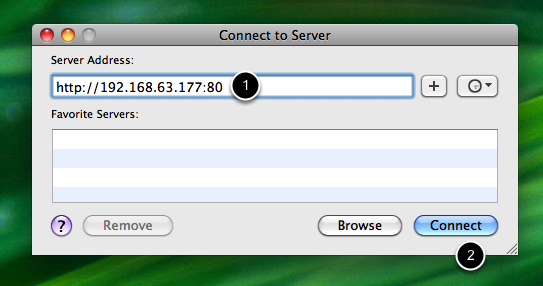
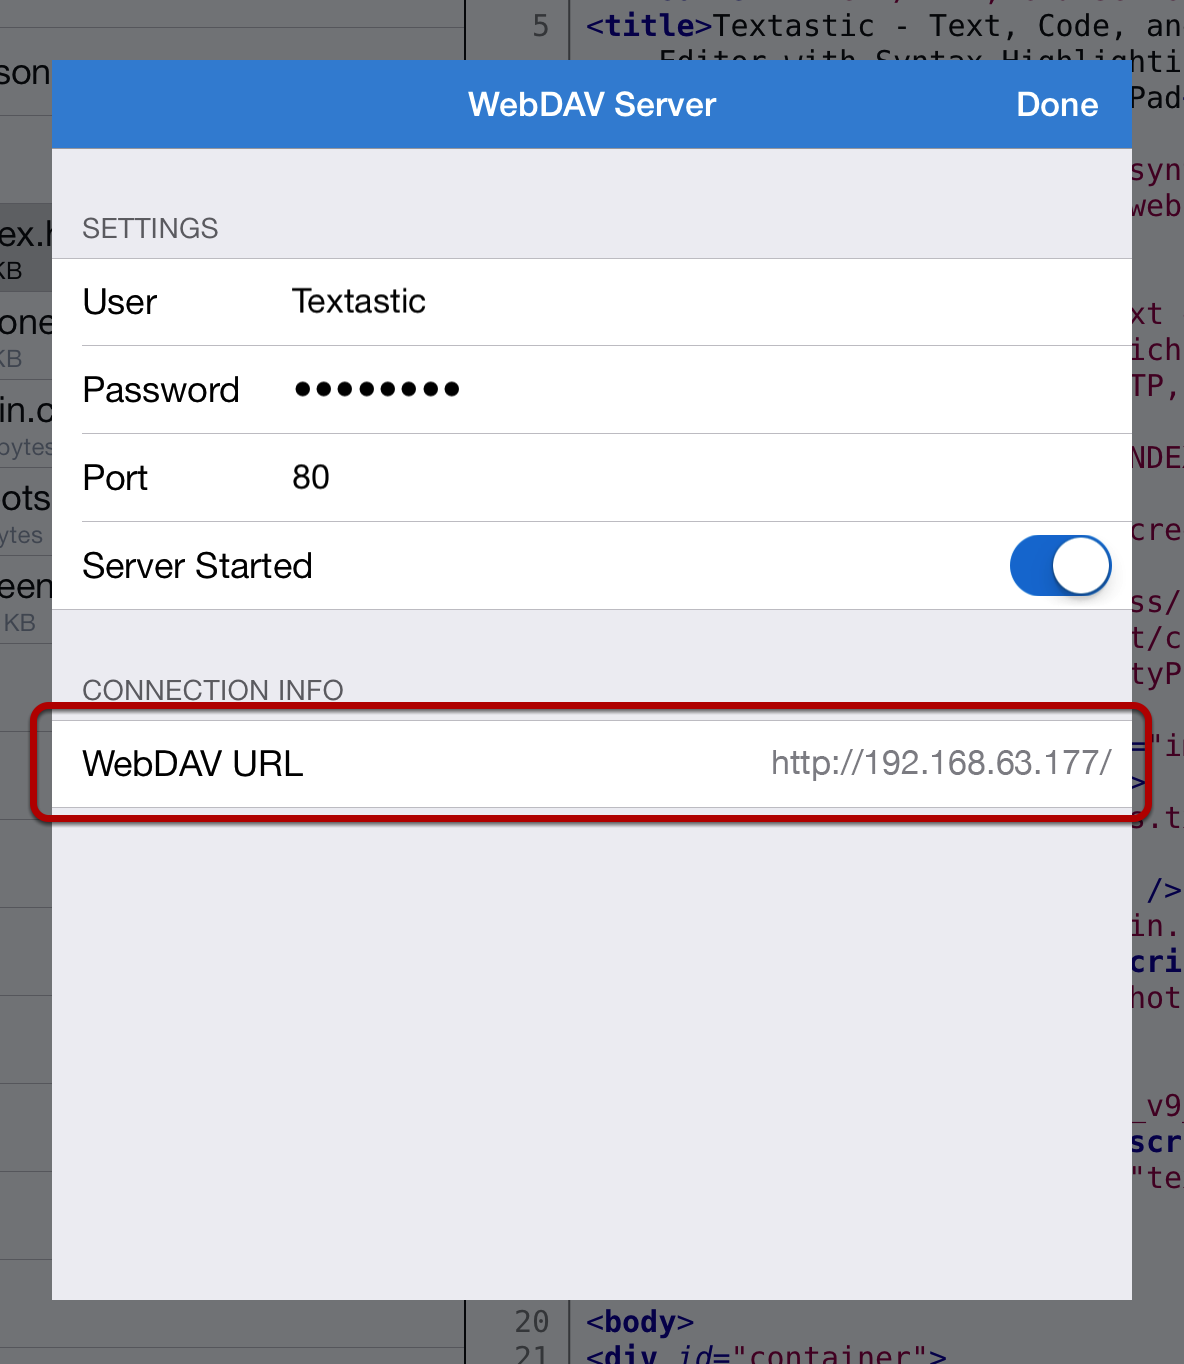
Enter the url from the Textastic WebDAV screen (1) and click on Connect (2).
Enter credentials
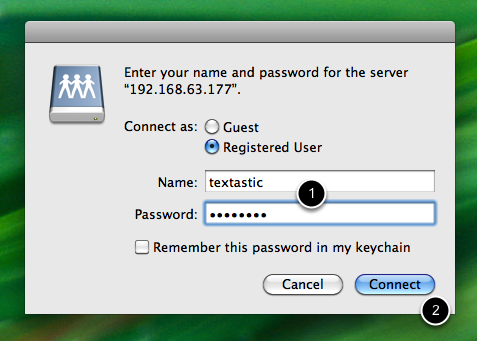
Enter user name and password you chose when setting up the WebDAV server. (Defaults are "textastic" and "password"). (1)
Click on Connect (2).
Manage your files

You can now use Finder to manager your files.